


We built a map of the Frey cirque with the approaches and the classic runs, each one rated by its exposure to avalanche terrain. It's public, you can import it into CalTopo and download it for Google Earth. The links are at the end of the post.
We did it for a concrete reason: this week we had several days of Considerable danger with zero visibility, and on those days the question isn't whether to go out. It's where to go. That decision is much easier to make at home, with a coffee and a screen, than at seven in the morning in the parking lot. Keep in mind that beyond the terrain, it's important to know the day's avalanche problem. Frey in spring, with its north-facing slopes and the problems tied to solar radiation and temperatures, is not the same as an August day with Wind Slabs or Storm Slabs.
What the map includes
It's organized into folders so you can turn on and off whatever you need:
- Approaches — 12 approach tracks: Piramidal, Principal, Vecinal, Central, 3 Marías, Col Cuadrado, Monje, Escondida, Y Griega, Norte Principal, Col Parótidas and Pico Bara.
- Runs — 15 descents, split into four folders by ATES category.
- Tops — the entry points for each line.
- Towers — the reference spires: Principal, Piramidal, Tres Marías, La Tapia, La Lechuza and Phillip Herron.
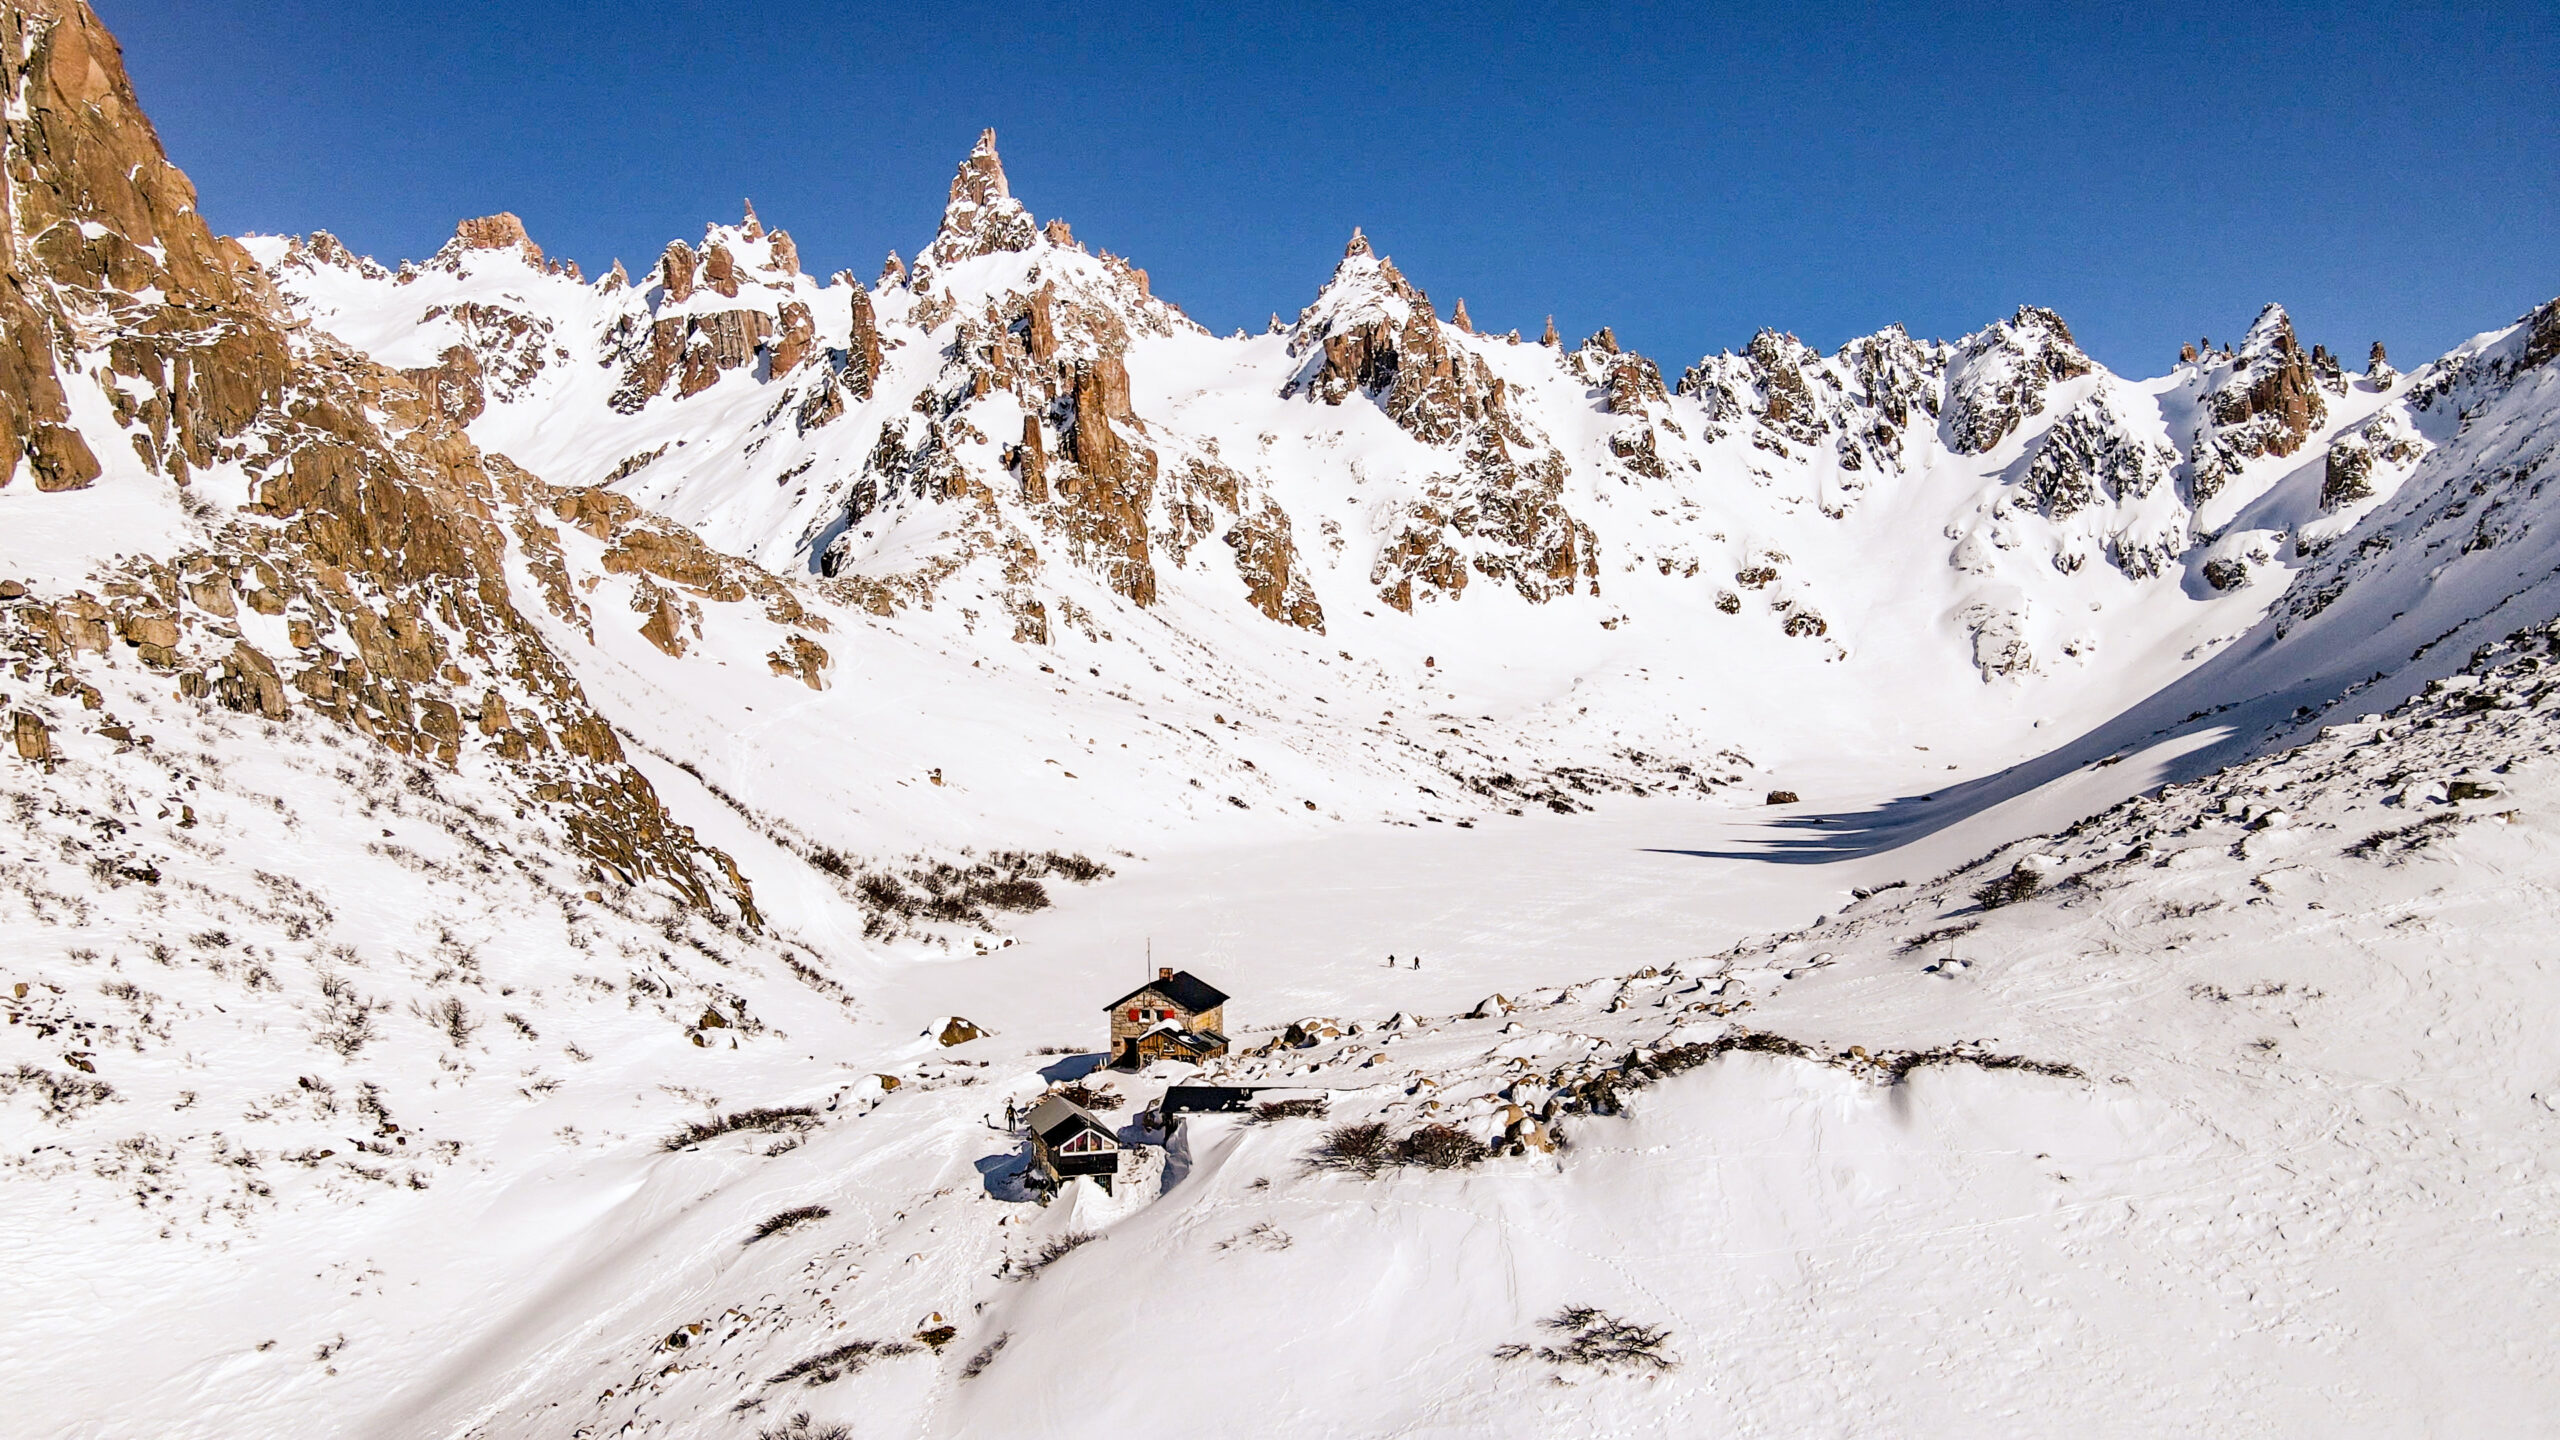
What jumps out when you look at the whole picture
Once you finish classifying all fifteen runs and look at the set, the map says something worth listening to:
- 1 run rated Simple
- 3 runs Challenging
- 7 runs Complex
- 4 runs Extreme
Eleven of fifteen descents are Complex or Extreme terrain. Only one is Simple.
Frey is a beautiful place, and it's also serious terrain. It's not the place to learn how to move in snow: it's the place where it shows whether you've learned. That's not our opinion, it's what the terrain classification says.
The runs, by category
Simple
Gentle slopes, minimal exposure, with clear options to avoid avalanche terrain.
- 12. Parótidas N
Challenging
Well-defined avalanche terrain, with the option to avoid it if you know where you're standing.
- 09. Col Lechuza
- 12. Col Parótidas S
- 13. Pico Bara S
Complex
Exposure to multiple avalanche paths, committing terrain and limited escape options.
- 01. Piramidal
- 03. Vecinal
- 06. Col Cuadrado
- 07. Monje
- 10. Sur Perro en Moto
- 11. Este de la Principal — and its variation
Extreme
Sustained, severe exposure. No margin for error.
- 02. Tres Marías
- 04. Cinta de la Vecinal
- 05. Y Griega
- 08. Escondida
What the ATES scale is
ATES —Avalanche Terrain Exposure Scale— classifies terrain according to its exposure to avalanches. It doesn't measure how steep it is or how hard it is to ski: it measures how much it exposes you and how many options it leaves you.
A run can be technically easy and still be rated Complex, because it crosses three avalanche paths with nowhere to take refuge. And the other way around: a steep, short slope with a clean runout can be just Challenging.
Version 2.0 of the scale, which is the one we use here, sorts terrain into Simple, Challenging, Complex and Extreme (plus a non-avalanche terrain category).
The most important point in this whole post: ATES classifies the terrain, not the conditions. A "simple" run with High danger is still dangerous. A "complex" run doesn't become safe because the bulletin says Low. The map tells you what you'll find; the bulletin tells you what the snowpack is doing today. The decision comes from combining the two.
Download the map
- 🗺️ View it online on CalTopo — you don't need an account to look at it.
- 📦 Download the files — includes the .json to import into CalTopo (keeps folders and colors) and the .kml for Google Earth.
To import it into CalTopo: log in to your account, left-hand menu → Import, and drag in the .json file. All the folders are created exactly as they are.
The KML works for viewing it in Google Earth and getting a sense of the relief in 3D, but note that it doesn't have the slope shading or the folder organization. For serious planning, use CalTopo.
How we use it to plan
The map alone isn't enough. What we do is combine it with two CalTopo layers that are available in the free version:
1. Slope angle shading
It's the most important filter and the simplest: most slab avalanches release between 30 and 45 degrees. Turn on Slope Angle Shading in the layers menu and you'll see the cirque painted by steepness ranges —it's exactly what you see in the image at the top.
The classic trap: don't just look at the slope where you'll be standing, look at what's above you. You can be walking along a 15-degree rise with a 38-degree face right above.
2. Terrain Shading with your own rules
In Add → Terrain Shading you can create a rule that combines several conditions at once: slope + aspect + elevation. And that changes the order of the question. Instead of looking at the map and asking yourself "is this safe?", you ask the map to show you only what meets your criteria for the day.
An example from this week: with storm slabs active in the alpine and treeline zones, and the weak layer most pronounced on the aspects least affected by the sun, the useful rule was slope under 30 degrees and below 1,400 meters. What's left shaded is your working terrain for that day — and generally, it's forest.
In poor visibility, forest gives you three things: it protects from the wind, anchors the snowpack and gives you back the visual reference the clouds took away. If you want to go deeper on how to pick good trees from home, this article on the CalTopo blog explains it well. One warning for anyone who reads it: the NAIP layer it recommends is aerial photography from the U.S. Department of Agriculture and has no coverage in Argentina. Here, use Global Imagery, or Sentinel Weekly if you have a Pro account.
What the screen won't tell you
- The elevation model averages. A 50-degree rock band inside a general 28-degree slope may not show up. Small terrain traps —gullies, creek beds, confined areas— won't either.
- The classification is our reading. It's made with good judgment and many days in that cirque, but it's an interpretation, not official data. Use it as a starting point, not a verdict.
- The plan is a hypothesis. It gets confirmed or discarded by what you see when you get there. If the terrain tells you something different, the terrain wins.
And the two usual ones: get the ski touring permit for Nahuel Huapi National Park and let someone know where you'll be.
Where we go from here
Digital planning, the ATES 2.0 scale and calculating the cumulative exposure of a route are part of the BCC Level 2 program, along with the Conceptual Model of Avalanche Hazard and the course's core exercise: building the day's assessment without a bulletin, using only your own observations.
- Classroom sessions: September 23 and 24
- Field days: September 26 and 27 — Cerro López, with an overnight in the hut
And if you want the full context of the place —how to get there in winter, what's in the hut, what the terrain is like day to day— we cover it in this Frey guide.
See you in the mountains.
Fer Martinez (Mountain Guide / Cartographer / A3 ProMember)